
10 Adorable Polymer Clay Crafts Frog Designs Anyone Can Make
You can craft adorable polymer clay frog designs like a simple sitting frog, a frog prince with a tiny crown, or a cute frog perched on a lily pad by conditioning clay, shaping bodies, and adding playful details like eyes and textured limbs. Once you’ve mastered these basic shapes, you can experiment with different colors and styles to create unique characters, such as a frog playing a tiny guitar or a frog wearing a flower crown. These adorable polymer clay
Try making a whimsical frog with a mushroom cap, a bow tie, or holding a flower for extra character. With basic shaping, attachment, and finishing tips, turning clay into charming frogs is easy—you’ll soon discover even more creative ideas ahead.
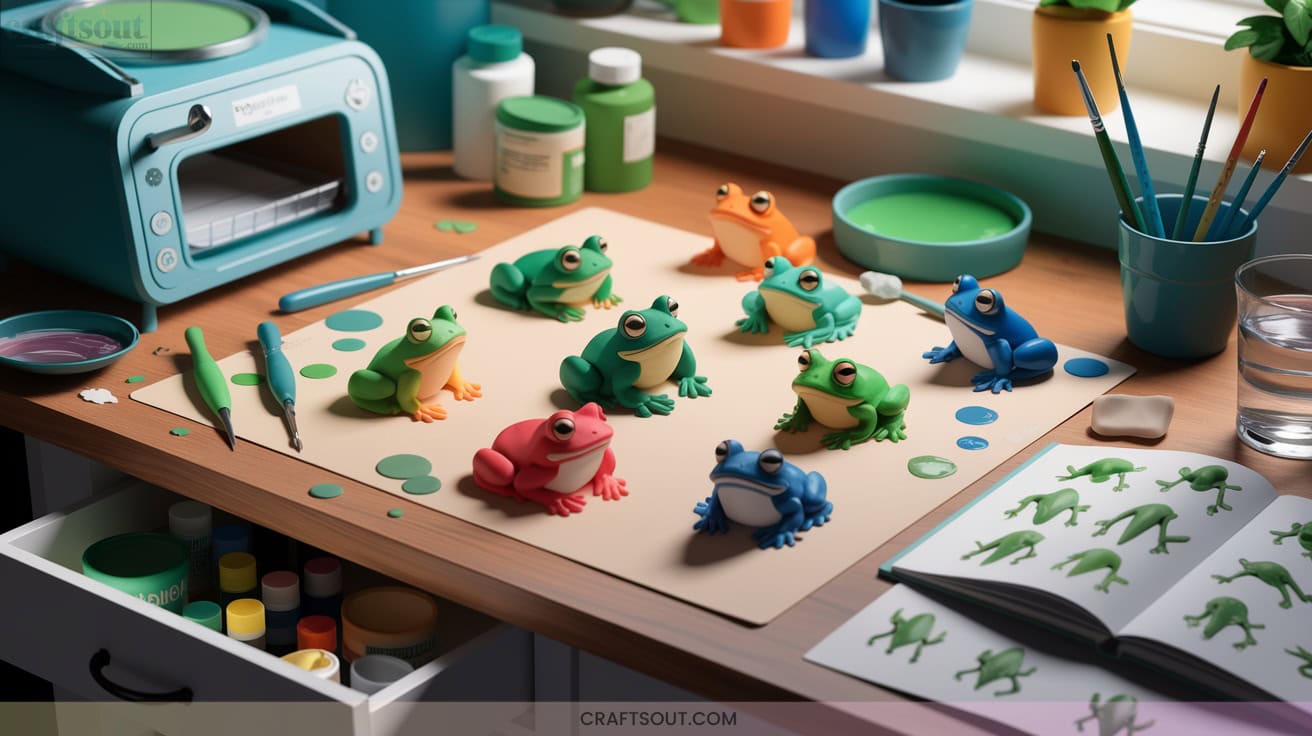

10 Adorable Polymer Clay Crafts Frog Designs Anyone Can Make: You can craft adorable polymer clay frog designs like a simple sitting frog, a frog prince with a tiny crown, or a cute frog perched on a lily pad by conditioning clay, shaping bodies, and adding playful details like eyes and textured limbs.
1. Simple Sitting Frog Sculpture

A well-crafted sitting frog begins with careful preparation of your polymer clay and workspace.
Every charming sitting frog starts with thoughtfully prepared polymer clay and an organized, ready workspace for creative success.
Condition your chosen clay until it’s pliable, then roll it into a flawless ball.
Shape this into an oval or pear for the frog’s body.
For a lightweight core, use a foil ball wrapped in clay.
Form legs by rolling long clay ropes, then fold and attach them underneath, bending to create a relaxed, seated pose.
Blend the seams with fingers or tools.
Add expressive eyes and a subtle smile using dotting tools and small clay balls.
Smooth everything, clean gently, and bake as directed.
Innovation emerges in your details.
2. Frog Prince With a Tiny Crown

Fairy-tale magic meets polymer artistry in the Frog Prince with a Tiny Crown.
Start by conditioning green clay, then sculpt a rounded, pear-shaped body.
For larger pieces, craft an internal wire or foil armature for stability.
Attach the head and limbs, blending seams with precision.
Shape a petite yellow or gold disk, cut a zigzag top for the crown, and add tiny clay spheres to each point.
Secure the crown with liquid clay or wire.
Dot in expressive black eyes, define nostrils, and score a royal smile.
After baking, accent the crown with metallic paint and finish with a glossy glaze.
3. Cute Frog on a Lily Pad

Whimsy blooms when you sculpt a cute frog perched on a lily pad, combining playful color choices with crisp techniques.
Start by rolling a green clay ball for the body, then add eye bases and blend the seams for a seamless look.
Indent the eyes, insert black clay pupils, and curve a tiny smile.
Shape ovals for legs and feet, attaching them precisely.
For the lily pad, flatten a darker green ball, snip a wedge, then texture veins with a needle tool.
Affix a tiny pastel flower for flair.
Secure the frog, bake, cool, and glaze for a professional finish.
4. Miniature Chocolate Frog Inspired by Harry Potter

Bring a touch of wizarding magic to your craft table by sculpting a miniature chocolate frog inspired by Harry Potter.
Start with a conditioned ball of chocolate-brown polymer clay, shaping a slightly flattened oval body.
Form elongated teardrop hind legs, attach and blend them seamlessly.
Add front legs using thin logs, positioning them beneath the body.
Define toes with a needle tool, then sculpt the head and pop on eye bulges.
Use silicone shapers for clean, smooth surfaces, referencing movie props for accuracy.
Bake on a ceramic tile, let cool, then apply gloss glaze for that signature chocolate sheen.
5. Frog With a Mushroom Hat

Charm your workspace with a frog sporting a playful mushroom hat, sculpted from polymer clay using foundational and advanced techniques.
Bring whimsy to your desk with a polymer clay frog topped with a cheerful mushroom hat, crafted using beginner and expert sculpting methods.
Begin with a foil core for the frog’s body, smoothing green clay over it.
Sculpt lips, limbs, and defined toes; blend joins seamlessly.
Shape a red mushroom cap, adding white specks and texturing gills underneath for realism.
For the hat’s stem, use white clay—hollow it if desired.
Attach the hat to your frog using liquid polymer clay for strong adhesion.
After baking, paint intricate eye details and patterns.
Finish with a glossy, polymer-safe varnish to protect and enhance shine.
6. Blushing Frog With Cheery Cheeks

How do you capture pure cuteness in polymer clay?
Start with a simple, rounded green base—pear-shaped works beautifully.
Press on stubby limbs, optional but charming.
Position large black eyes, either polymer clay balls or beads, high on the face.
For those signature cheery cheeks, flatten tiny circles of pink or red clay beneath the eyes or brush pastel dust in careful, layered sweeps.
A needle tool carves a subtle smile below.
Add tiny white dots to the eyes for sparkle.
After baking, seal with gloss to protect the blush.
Experiment with shades and finishes to make your frog unique.
7. Playful Frog Holding a Flower

Once you’ve captured the blush of a happy frog, try giving your next creation a whimsical touch by sculpting a playful frog clasping a flower.
Condition green clay, form a teardrop body, and add two small balls for eyes.
Shape limbs from tiny logs, attaching them in a sitting or standing pose.
For the flower, flatten colored balls for petals around a minuscule center, or coil a thin snake for a rose.
Position the arms to gently hold the flower or stem.
Add expressive eyes and a subtle mouth.
Smooth surfaces, bake as directed, and finish with a glossy glaze.
8. Sleeping Frog Curled Up

If you want to capture a peaceful moment, sculpting a sleeping frog curled up lets you focus on gentle curves and soft details.
Sculpting a curled, sleeping frog invites you to explore gentle curves and capture a moment of serene tranquility in clay.
Begin by conditioning green clay and shaping it into a slightly flattened oval, curving it to mimic a restful pose.
Blend coils for arms and legs, tucking them close to the body for a natural, serene effect.
For a refined finish:
- Indent spaces for limbs and blend connections for seamless integration.
- Sculpt a rounded head, then etch or apply closed ‘U’-shaped eyes.
- Add subtle blush or nostril details before baking to amplify charm and realism.
9. Frog Wearing a Bow Tie

A polymer clay frog sporting a bow tie instantly adds a playful, dapper twist to your sculpted creations.
Start by shaping two small triangles and a center knot, flattening and folding the bow’s edges inward for a classic loop effect.
Secure the bow tie at your frog’s neck with liquid polymer clay—don’t hesitate to play with bold colors, stripes, or polka dots for character.
Use a pasta machine or rolling pin for even thickness, and try cutters for uniform shapes.
Finish with a UV resin gloss for shine.
Experiment: place the bow on the frog’s back, or accessorize further!
10. Whimsical Frog Reading a Book

After exploring the playful charm of a bow tie-adorned frog, shift your focus to crafting a scene brimming with curiosity—a whimsical frog completely absorbed in a tiny book.
Begin by shaping the frog’s seated posture, cross-legged and leaning back, capturing that focused, content expression.
Then, innovate with details:
- Sculpt a miniature book—flatten, fold, and etch readable pages; add spectacles or a bookmark for character.
- Set the frog on a lily pad, mushroom, or stack of books, using texturing tools for realism.
- Finish with acrylic highlights, subtle shading, and a protective glaze for a polished, storybook-worthy masterpiece.
Frequently Asked Questions
Can I Mix Different Brands of Polymer Clay for My Frog Sculptures?
You can mix different polymer clay brands for your sculptures, revealing new textures and strengths. Condition each clay first, blend thoroughly, and bake at the highest temperature and longest time recommended. Always test small batches for best results.
How Do I Prevent Fingerprints on My Finished Clay Frogs?
To prevent fingerprints, use firmer clays, work with cool clay, and handle pieces lightly. Wear gloves or dust your fingers with cornstarch. Smooth surfaces with water, alcohol, or clay softener, and perfect details by wet sanding post-bake.
Is Polymer Clay Safe for Children to Use Under Supervision?
Think of polymer clay as a blank canvas—safe for young hands when you supervise closely. Use only non-toxic brands, dedicate your tools, and wash up well. Guide kids over eight; always guard against accidental bites.
How Do I Store Leftover Clay to Keep It Soft?
To keep leftover clay soft, wrap it tightly in plastic wrap, then seal it in a polypropylene container or zip-lock bag. Store in a cool, dry place—avoid sunlight and heat. Regularly knead conditioned clay for best workability.
What Should I Do if My Clay Frogs Crack After Baking?
It’s funny how cracks appear just where you want perfection. You’ll fill small ones with matching clay, smooth them out, and re-bake. For stubborn gaps, blend clay dust with epoxy, sand after curing, or mask with clever design accents.
Conclusion
With a pinch of imagination and nimble fingers, you’ll bring these charming polymer clay frogs to life—each one bursting with personality. Let your creativity leap from your hands like a frog from a pond, shaping tiny smiles, crowns, and hats with every detail.
The magic’s in the gentle molding, the swirl of colors, and the delicate touch. So gather your tools, let your ideas hop wild, and sculpt a little world where whimsy reigns supreme.


