
10 Charming Clay Crafts Octopus Designs Anyone Can Create
You can easily make charming clay octopus crafts using polymer, air-dry, or ceramic clays for durability and detail. Start by shaping a central sphere for the head, then attach tentacles—supporting them with wire if needed. Use dotting and modeling tools for suckers and skin textures, then bake or air dry and finish with acrylic paints or glazes. Try figurines, magnets, keychains, charms, pen toppers, or even a glazed bowl; the next steps will show you how.


10 Charming Clay Crafts Octopus Designs Anyone Can Create: You can easily make charming clay octopus crafts using polymer, air-dry, or ceramic clays for durability and detail. Start by shaping a central sphere for the head, then attach tentacles—supporting them with wire if needed. Use dotting and modeling tools for suckers and skin textures, then bake or air dry and finish with acrylic paints or glazes.
1. Playful Polymer Clay Octopus Figurine
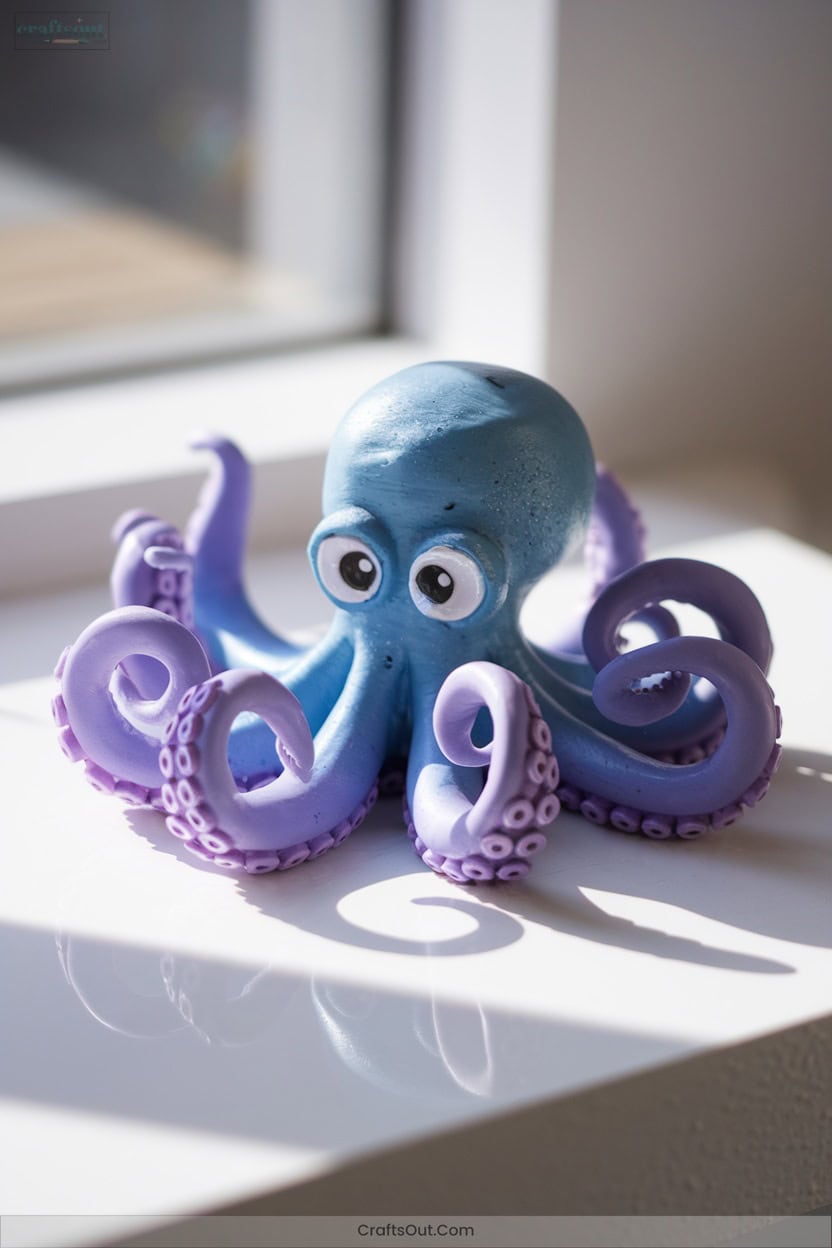
A playful polymer clay octopus figurine starts with selecting high-quality polymer clay, which offers the flexibility and durability needed for both simple and intricate designs.
Sketch your concept to map out tentacle placement and body proportions.
Condition the clay thoroughly before shaping a central body.
Use a dotting tool to form smooth, rounded tentacles, attaching them one by one for dynamic movement.
Employ needle tools for detailed texturing, adding webbing between tentacles for realism.
Clean and blend seams using a Q-tip dipped in rubbing alcohol.
Once sculpted, bake per manufacturer’s instructions, then paint with acrylics and seal with varnish for longevity.
2. Whimsical Air-Dry Clay Octopus Magnet
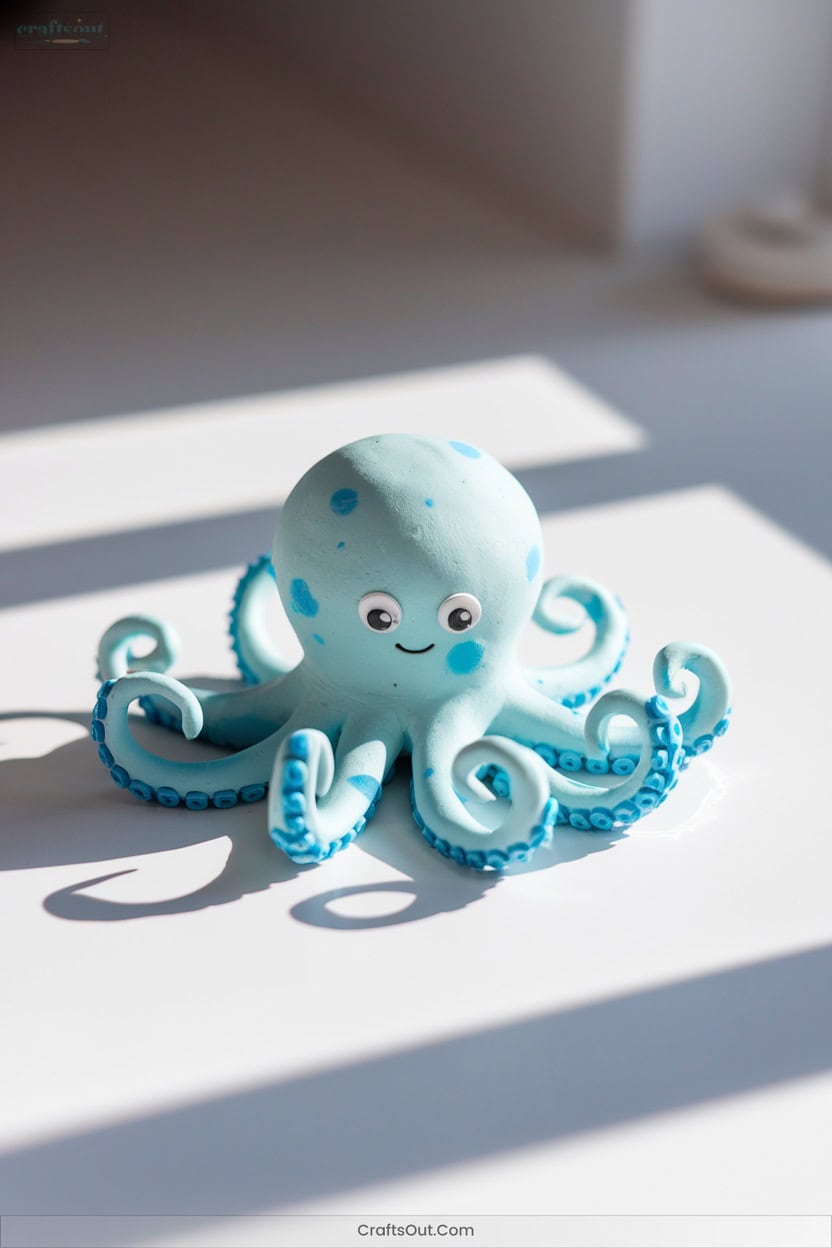
After exploring the versatility of polymer clay for detailed octopus figurines, shift your focus to crafting with air-dry clay for a different approach.
Begin with a clean, flat surface and knead your chosen clay color.
Roll a sphere for the head and shape eight slender tentacles.
Use toothpicks or modeling tools to form eyes and simple suckers, embracing whimsical features.
Let your design dry completely, then sand smooth.
Paint with acrylics for vibrant color, and seal with a clear coat or UV resin for durability.
Finally, glue a small magnet on the back—your octopus is now ready for display or gifting.
3. Elegant Ceramic Clay Octopus Sculpture
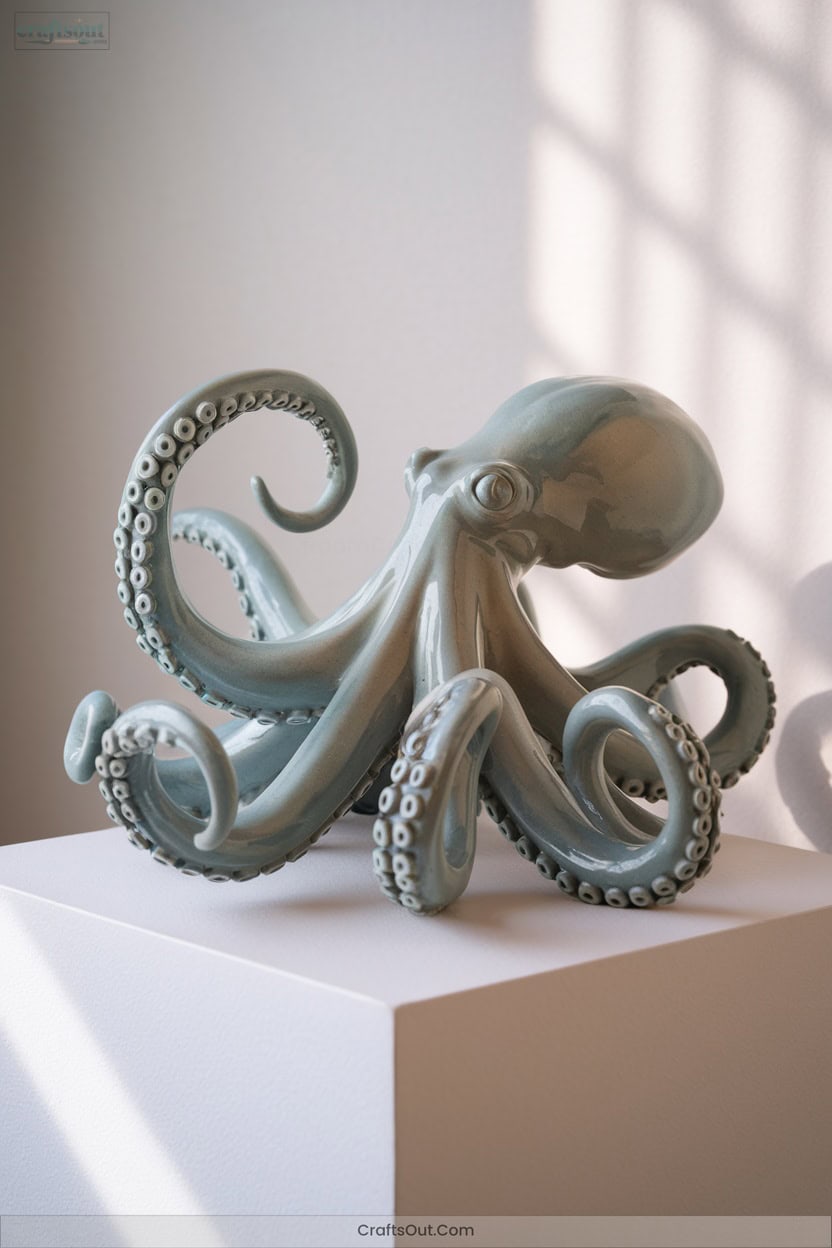
Crafting an elegant octopus sculpture from ceramic clay demands careful selection of materials and mastery of sculpting techniques.
Begin with high-quality ceramic clay and a clean, dry workspace.
Form the head using the pinch pot method, ensuring a hollow core for even firing.
Sculpt individual tentacles, emphasizing symmetry and fluid, dynamic curves.
Attach each tentacle securely, blending seams.
Use modeling tools to press realistic textures, mimicking suckers and skin.
After air drying, fire the sculpture in a kiln.
Finish with carefully chosen glazes or paints, and consider integrating oceanic elements for added depth.
Your innovation shapes a truly sophisticated piece.
4. Colorful Octopus Keychain With Polymer Clay

Ever wondered how to transform vibrant polymer clay into a durable, eye-catching octopus keychain?
Begin by choosing a high-quality clay—Premo for strength, Fimo Professional for detail, or Cernit for flexibility. Blend basic and metallic colors to create gradients or custom hues.
Shape a rounded body, then attach tentacles using wire or skewers for support and texture with modeling tools. Add small clay balls for suction cups and paint expressive eyes.
Bake at the recommended temperature, then inspect for flaws. Glaze for gloss and durability.
Attach a jump ring and clasp, ensuring secure assembly. Store away from sunlight to prevent fading.
5. Miniature Octopus Charm for Jewelry Making

A miniature octopus charm brings intricate detail and vibrant character to your jewelry collection, demanding careful material selection and methodical technique.
Intricate detail and vibrant character define a miniature octopus charm, making it a captivating addition to any jewelry collection.
Begin by conditioning polymer clay for ideal pliability, then shape the octopus body and tentacles using fine sculpting tools.
Layer clay for dimensionality and vary tentacle lengths for authenticity.
Bake the charm to cure, ensuring no air pockets compromise structure.
Paint detailed eyes and accents with precision brushes, using metallic hues for lifelike sheen.
After drying, encapsulate your creation in clear resin for durability and brilliance.
Finally, mount the charm on jewelry findings—pendants, earrings, or keychains—for innovative wearability.
6. Realistic Tentacle Textures in Air-Dry Clay
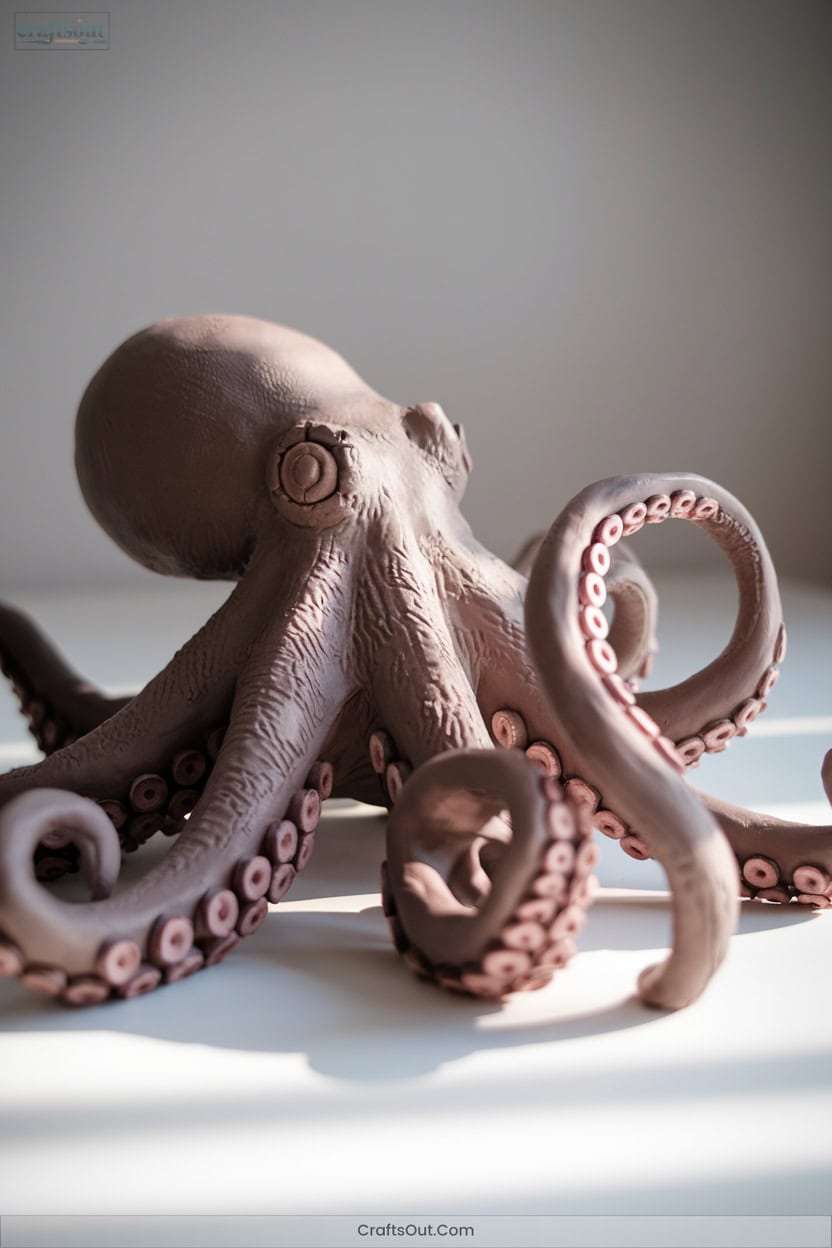
Once you’ve mastered miniature octopus charms, achieving lifelike tentacle textures in air-dry clay will elevate your sculptures further.
Start by rolling clay into cylinders for tentacle bases, then embed wire for support.
Use a karate chop tool and your fingers to vary thickness and create organic curves. Shape tips at a taper.
For suckers, press tiny clay balls onto the underside, flattening with a stylist ball tool.
Texture the skin with toothpicks or fine tools, mimicking natural patterns.
After drying, layer iridescent paints for realistic color shifts. Finish with varnish to seal and highlight your intricate tentacle details.
7. Ocean Scene Diorama Featuring a Clay Octopus
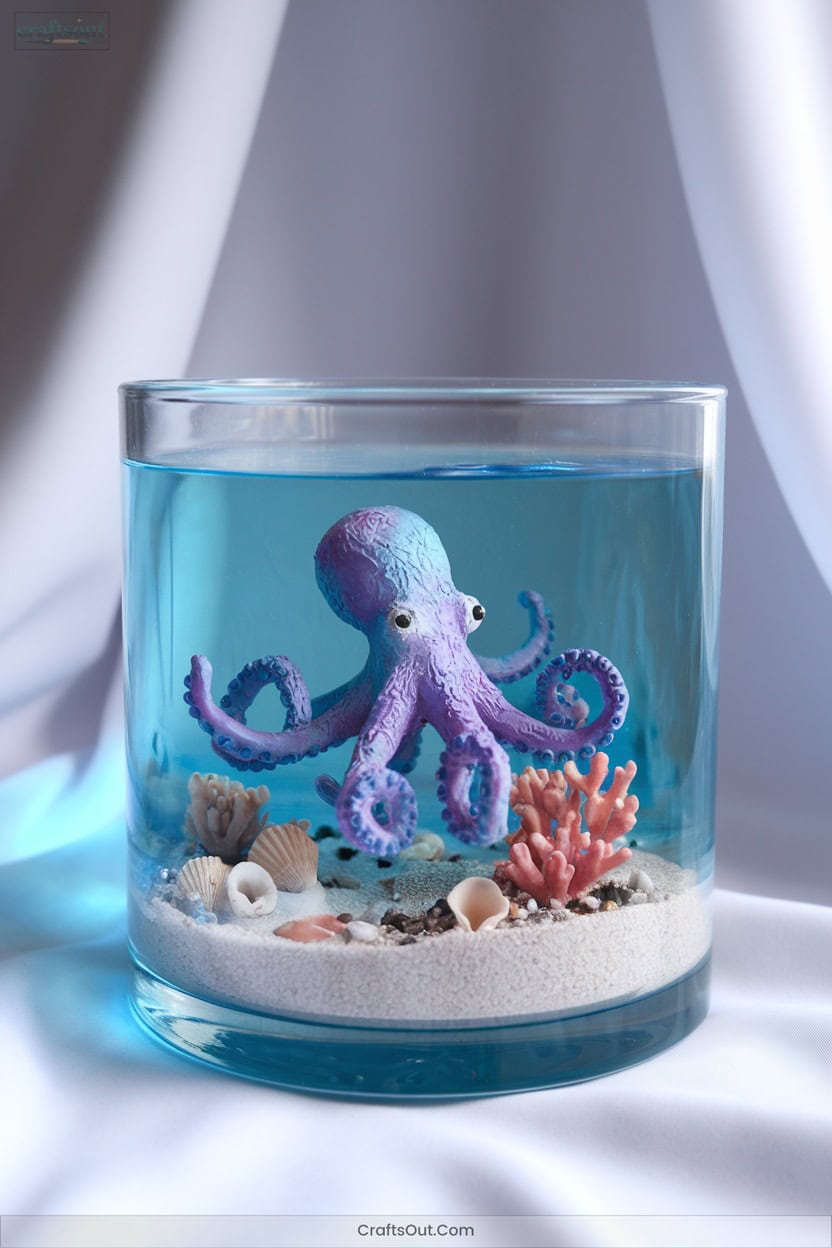
Transform your workspace into an underwater world by constructing an ocean scene diorama with a clay octopus as the focal point.
Start with a glass container or model box for visibility.
Sculpt the octopus using polymer or air-dry clay, forming a rounded body and lifelike tentacles with fine tools.
Integrate aquarium elements—clay seaweeds, small rocks, and pebbles—for terrain realism.
Mimic water with resin or transparent paint, and add starfish or jellyfish for complexity.
Use blues and greens for background depth, then illuminate with LEDs or glow paint.
Personalize with thematic variations or educational details to maximize creative and visual impact.
8. Cute Octopus Pen or Pencil Topper
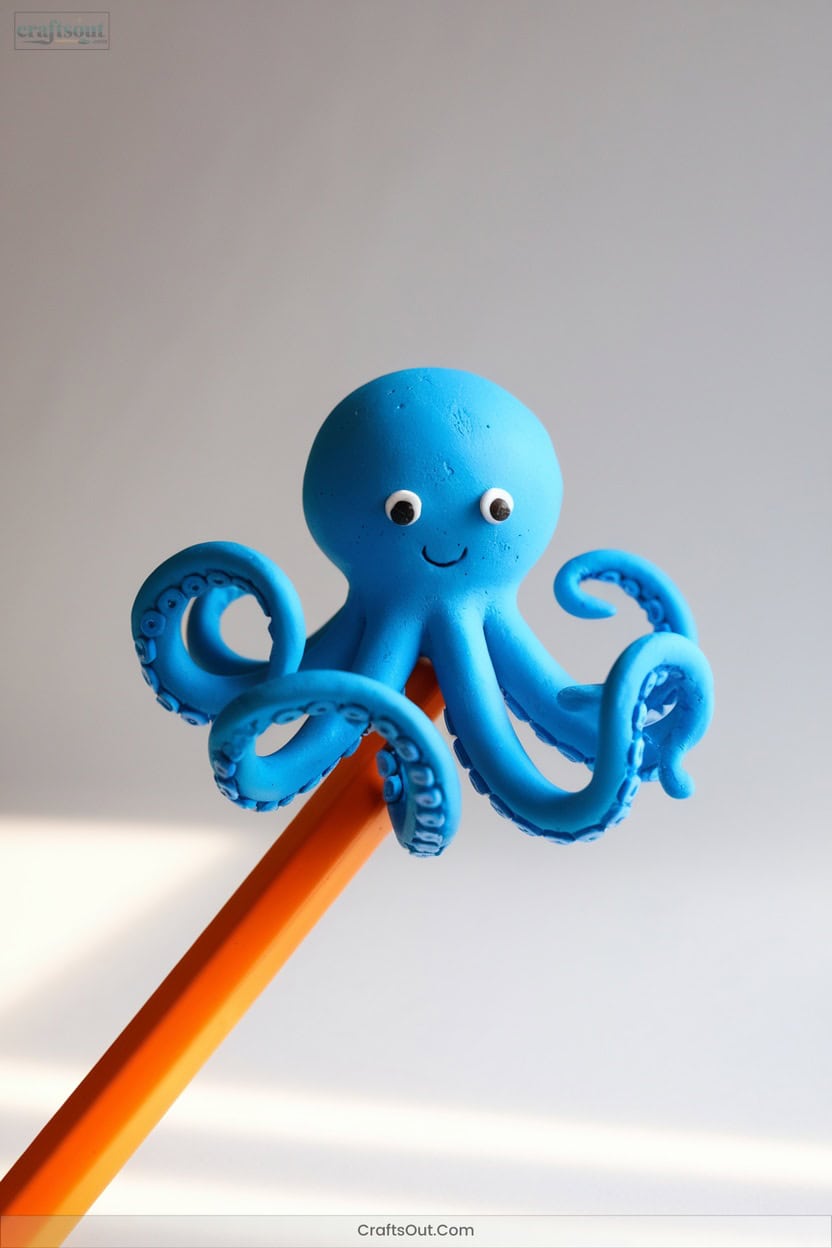
For a functional and creative project, craft a charming octopus topper using air dry clay to personalize your pens or pencils.
Begin by rolling a smooth clay ball for the octopus body, then attach smaller balls for tentacles around the base.
Use shaping tools to define the tentacle curves and texture the surface for added detail.
Position the design firmly atop your pen or pencil, guaranteeing a snug fit before letting it dry completely.
For best results, keep these four steps in mind:
- Make sure clay consistency is firm.
- Use rolling tools for smoothness.
- Dry partially before removing.
- Finish with a protective varnish.
9. Expressive Octopus Eyes With Detailed Clay Work
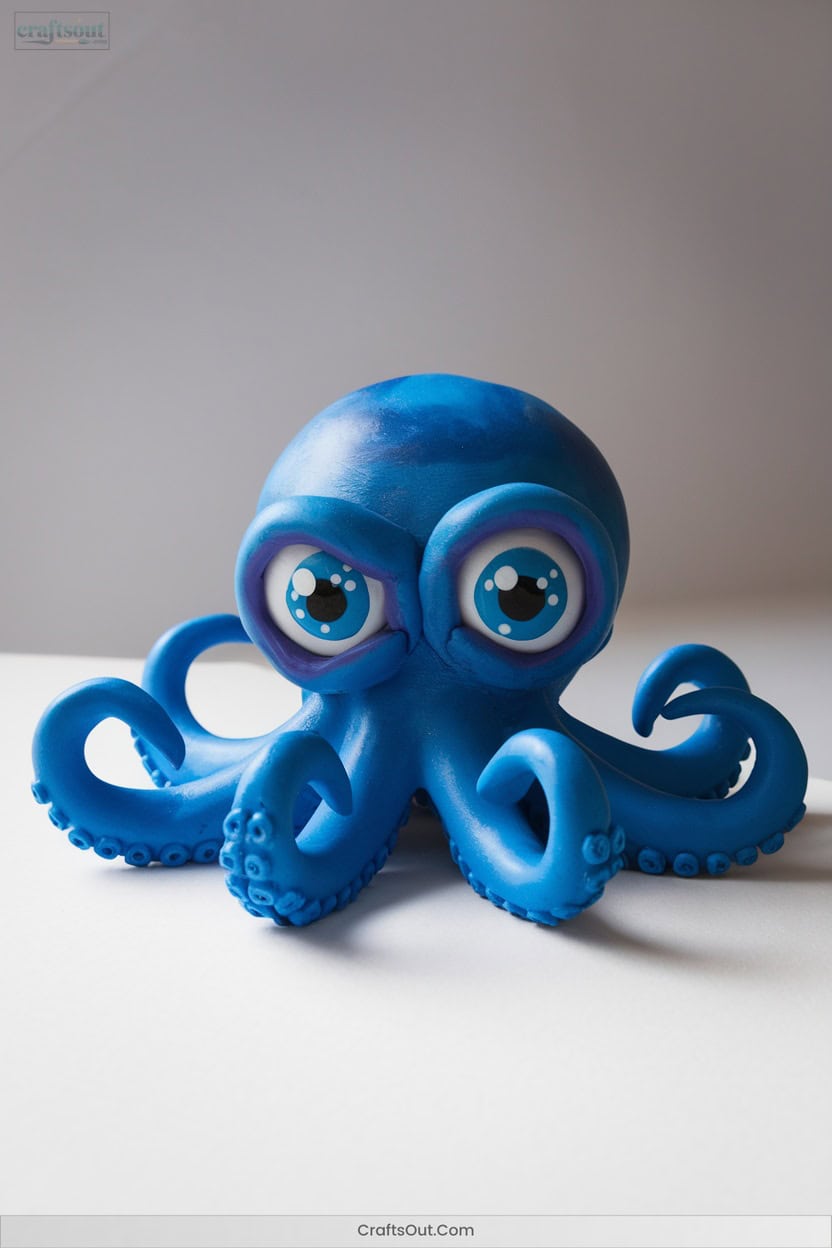
How do you achieve lifelike expression in your clay octopus designs?
Start by selecting innovative materials—glass eye cabs add instant realism, while polymer or air dry clay lets you sculpt custom features.
Shape eyes precisely using chopsticks or round-head tools, then enhance them with layered clay for depth.
Texture the surface with toothpicks, and accent with white or black clay to define highlights and pupils.
For added brilliance, paint details using metallic or enamel paints, or pour tinted resin for a glossy finish.
Experiment with winking or shimmering effects, and always use contrasting colors to make your octopus eyes pop.
10. Glazed Ceramic Octopus Bowl or Dish
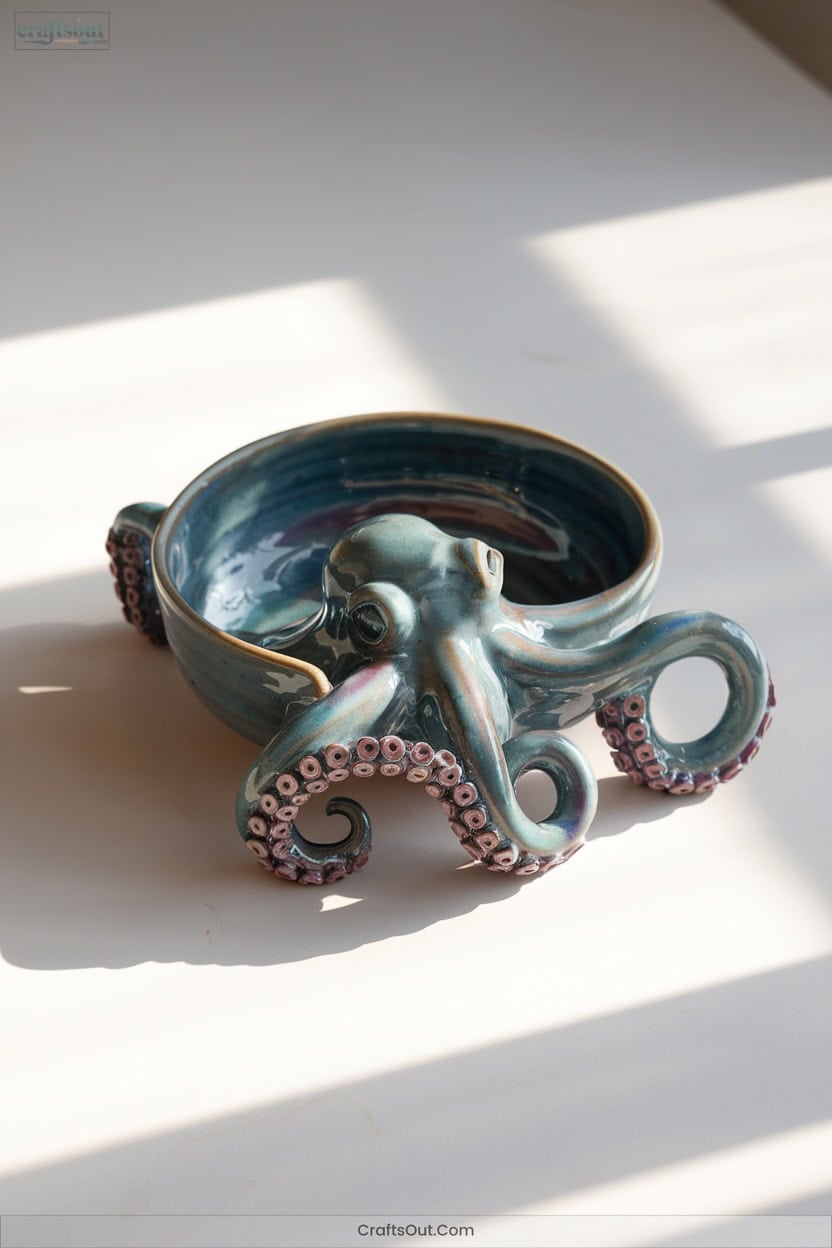
A glazed ceramic octopus bowl or dish integrates technical skill with creative design, requiring careful material selection and precise hand-building techniques.
Start by shaping earthenware clay, sculpting detailed tentacles and suckers for realism.
Apply lead-free, hand-mixed glazes—turquoise and Caribbean blue are popular—to evoke oceanic themes.
Fire your piece at the recommended temperature to secure both durability and aesthetic finish.
Contrast the octopus body with accent glazes for enhanced depth.
- Choose earthenware for hand-building.
- Add sea-inspired texture and tentacle details.
- Use lead-free, hand-mixed glazes for unique effects.
- Fire precisely to lock in color and strength.
Frequently Asked Questions
How Do I Safely Store Leftover Clay for Future Use?
To safely store leftover clay, identify its type first. Keep ceramic clay in airtight containers with a damp cloth, polymer clay in dust-free bags avoiding polycarbonate plastics, and always label, separate colors, and check periodically for moisture or contamination.
Can I Mix Different Types of Clay in One Project?
Did you know 40% of potters experiment with clay mixes for unique effects? You can mix clays, but always test for temperature, shrinkage, and texture compatibility. Thoroughly wedge, then fire a sample to guarantee durability and consistency.
What Are the Best Tools for Shaping Tiny Octopus Details?
For shaping tiny octopus details, you’ll achieve precision using fine-tipped modeling tools, toothpicks, and micro wire cutters. Incorporate clay scrapers for intricate refinement and emery boards for smoothing—experiment with these tools to push creative and technical boundaries.
How Do I Fix Cracks That Appear During Drying or Baking?
Crack conundrums call for careful correction: score surrounding surfaces, smooth on paper clay slip, and let layers dry fully. For finer fissures, fill with custom slip, then sand seamlessly. Control climate conditions to consistently curb crack creation.
Is It Safe for Kids to Use These Clays Without Supervision?
You shouldn’t let kids use clay without supervision. Even non-toxic clays can pose risks if ingested or mishandled. Always check safety certifications, instruct on tool use, and enforce handwashing to promote both creativity and safety during innovative projects.
Conclusion
Don’t worry if you’re new to clay—these octopus designs are surprisingly accessible with basic tools and clear steps. By choosing the right clay, like polymer for easy baking or air-dry for quick projects, you’ll enjoy both precision and flexibility.
Detailed tutorials guide you through shaping, texturing, and assembling each piece. With every tentacle, you’ll improve your skills and materials knowledge, making charming crafts you’ll be proud of. Plunge in—your creative ocean awaits!


